Interior Dome Mounts

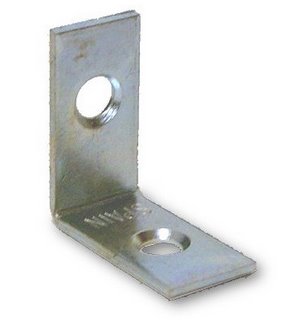
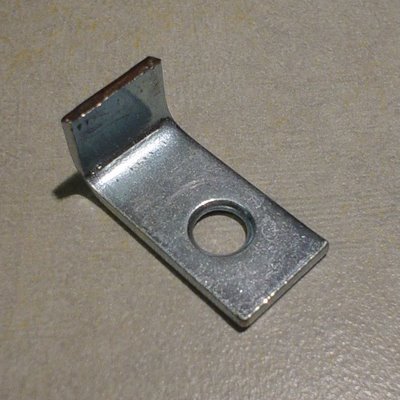
I cut one side of the bracket to the desired length - to be able to sit above the T-nut and still brace against the outer rim of the holoprojector "fin" the encircles the "eyeball" portion of the holo. The finished cut job looks like this:
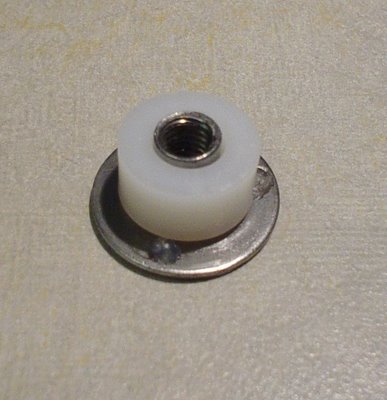
The T-nut would then be glued to the inside of your dome in the appropriate position, spaced just outside the holoprojector "fin" or strategically around other components like the logic displays.
 Then I begin stacking them like this:
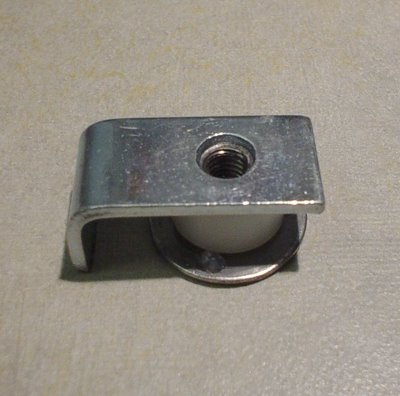

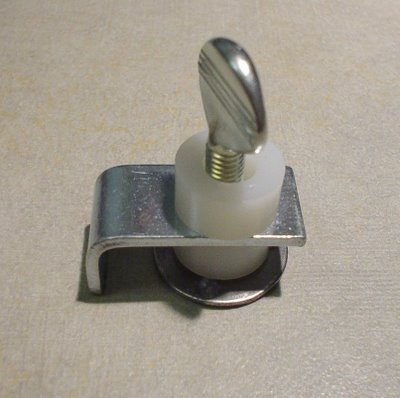
Here is how it would work against the holoprojector "fin". For illustrative purposes I have used the CD shown here as the holo "fin" until I can get a picture snapped of the inside of my dome.
 These mounts could also be modified to mount the logic displays as well, and they make for fast, easy removal for servicing or upgrade of parts from resin to aluminum.
posted by Shadow Walker at 8:47 AM
![]()


0 Comments:
Post a Comment
<< Home